REVIEW · NEW YORK CITY
Midtown NYC Photo Safari
Book on Viator →Operated by New York City Photo Safari · Bookable on Viator
New York, framed through your camera. This Midtown photo safari turns famous stops into a practical shooting workshop, with a professional instructor guiding you on what to frame and how to focus so your photos look sharper and more intentional. I like the small group setup because you get real coaching instead of rushing past the view.
You’ll also pick up photo tips you can use right away, whether you shoot with a digital camera or an iPhone. In the reviews, the instructor name Zim comes up a lot, and the consistent theme is patient, helpful guidance plus hands-on feedback as you click. One consideration: it’s a walking tour with a moderate physical fitness expectation, and private transportation isn’t included.
In This Review
- Key highlights you’ll care about
- Why Midtown Manhattan Works So Well for a Photo Safari
- Getting There: Meeting Point, Subway Fare, and Staying Flexible
- Stop 1: Radio City Music Hall and the Art of Strong Frames
- Stop 2: Rockefeller Center for Composition, Light, and Skyline Detail
- Rockefeller Center Christmas Tree: Getting Better Night-and-Glow Photos
- Central Park Between Skyscrapers: Contrast That Makes Photos Feel Alive
- The Real Skill: Capturing Motion (Subway Trains and More)
- How You Get Coaching: Small Group Attention and Quick Feedback
- Price and Value: What $125 Buys You in Midtown Time
- What to Bring and How to Prepare (Without Overthinking It)
- Weather Matters for This Safari
- Who This Tour Suits Best
- Should You Book the Midtown NYC Photo Safari?
- FAQ
- How long is the Midtown NYC Photo Safari?
- Where does the tour start?
- Is transportation included?
- How many people are in the group?
- Do I need good weather?
- What’s included in the tour price?
Key highlights you’ll care about
- A pro photographer instructor focuses on hands-on technique, not just sightseeing
- Small group (max 8) means more time for individual questions and quick corrections
- Landmark and skyline practice at iconic Midtown spots like Rockefeller Center and Radio City
- Moving subject training includes how to handle motion like subway trains
- One-way subway fare included, so you can plan around public transit instead of taxis
Why Midtown Manhattan Works So Well for a Photo Safari
Midtown is basically a training gym for photographers. You’ve got tall buildings for strong vertical lines, bold signage and light for exposure tests, and lots of motion—subway trains, pedestrians, and traffic flow—so you can practice more than one type of shot in a short window.
What I like most is that this tour is built around photo-making, not passive looking. Instead of just stopping at famous places for a quick “stand here” moment, you’re taught how to see scenes in layers: foreground to add depth, building lines for structure, and backgrounds that don’t fight your subject.
You’ll also learn how to capture moving objects, which is the part most visitors struggle with. A skyline can look great in a still frame, but motion changes the rules fast. This tour specifically includes coaching for motion like a subway train, plus tips that help you keep results consistent when the scene is changing.
Getting There: Meeting Point, Subway Fare, and Staying Flexible
You meet at 180 Madison Ave, New York, NY 10016, and the tour ends back at the same spot. That simple loop matters, because Midtown logistics can eat time. Starting and ending at one central location helps you plan the rest of your day without guessing where your guide will drop you.
The tour includes one way subway fare. That’s practical value for a photo workshop because it reduces the “okay, now we’re hopping into a cab” problem. It also keeps the pace tied to what you can reach on foot and by subway, which usually means fewer logistics headaches.
Two real-world notes:
- Private transportation isn’t included, so don’t build your plan around a car or van ride.
- The tour is described as requiring moderate physical fitness, so plan for walking and standing for photo stops.
If you’re the type who likes your day organized, this is a win. If you hate public transit or have limited stamina, it’s worth thinking twice.
Stop 1: Radio City Music Hall and the Art of Strong Frames
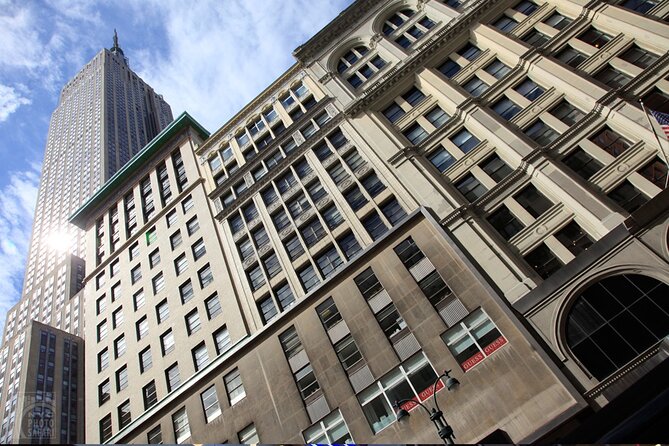
Your first stop is Radio City Music Hall. This is a smart opener for a photo tour because the building gives you clear shapes to work with and easy “composition practice.” Even if you’re newer to photography, you can quickly test ideas like:
- keeping the subject centered vs. using negative space
- controlling perspective so the lines feel straight and intentional
- choosing angles that avoid distracting clutter
The main point here isn’t getting one perfect shot. It’s learning how your guide wants you to think. You’ll get technique suggestions as you’re standing there, which makes it easier to apply right away rather than later at home.
Also, the tour is hands-on. That means you’re not just watching. You’re expected to try, adjust, and try again, based on what the instructor tells you.
Stop 2: Rockefeller Center for Composition, Light, and Skyline Detail
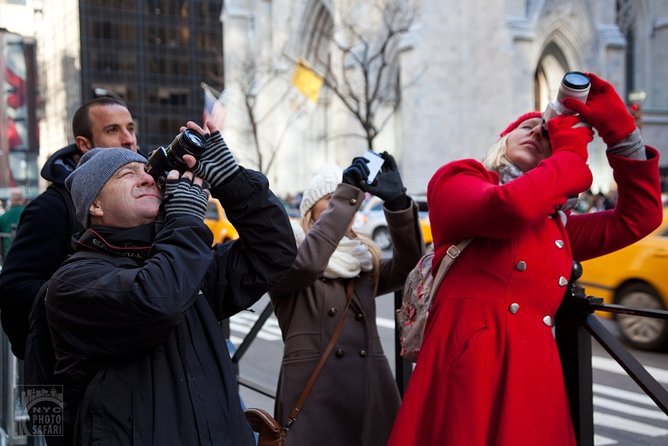
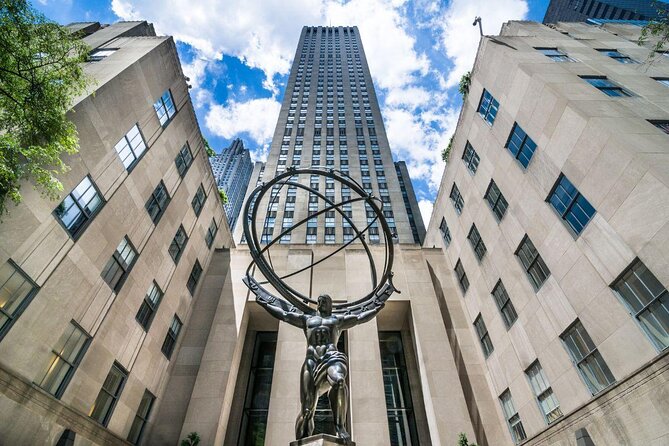
Next up is Rockefeller Center. This is where Midtown starts to feel like a photo assignment. Tall buildings and open plazas give you multiple ways to frame the scene, including shots that emphasize geometry and shots that show more human scale.
For photographers, Rockefeller Center often means decisions about:
- where to put the horizon or skyline edges
- how to handle bright highlights and darker areas (especially if the light is changing)
- whether to shoot wide to show context or tighter to isolate details
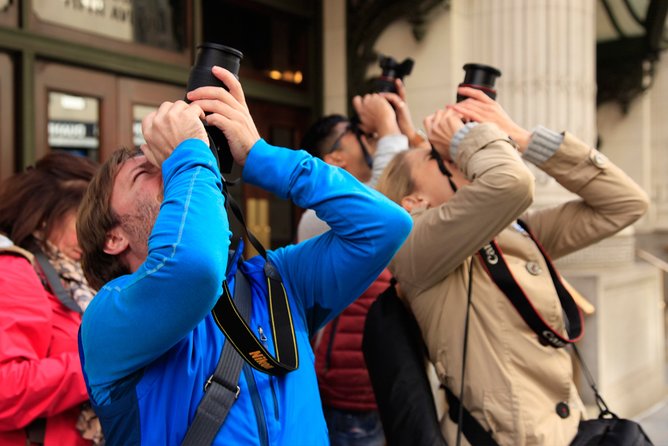
The tour’s format helps here. Your instructor will guide you on how to use your camera (or phone) better, so you’re not guessing settings. And because the group is small, you can ask specific questions as you go.
One theme from the reviews: the coaching is the kind that makes you go back to your hotel and think, I can actually use what I learned tomorrow.
Rockefeller Center Christmas Tree: Getting Better Night-and-Glow Photos
You’ll also stop at the Rockefeller Center Christmas Tree. Even if you’re not traveling during peak holiday weeks, the tour still includes this stop as part of the experience, which tells you the focus is on a scene with visual interest and often dramatic lighting.
This stop is valuable because it teaches you about light conditions that don’t behave like daytime snapshots. You can practice how to:
- avoid blowing out bright highlights
- keep subject detail while the background stays usable
- compose so the light becomes part of the picture, not just random brightness
The reviews specifically mention neon and city activity coaching, and this tree stop is the kind of place where those skills start to click. It’s a great checkpoint for people who want photos that feel like New York, not just New York-shaped objects.
Central Park Between Skyscrapers: Contrast That Makes Photos Feel Alive
Your final photo stop is Central Park. This works well as a contrast ending. You start the safari in built-up Midtown streets and iconic landmark architecture, and then you finish with greenery and different spatial feel.
That change matters for photography. You’ll likely find it easier to:
- slow down your framing
- focus on different types of composition (texture, lines, tree shapes, and depth)
- get shots that feel more calm, even while you’re still in the city
It’s also a useful way to test what you’ve learned. If your guide taught you composition principles earlier, you can apply them in a new setting without the pressure of a single “signature” building.
The Real Skill: Capturing Motion (Subway Trains and More)
One of the strongest promises of this safari is learning to capture moving objects, and it specifically mentions a subway train. That’s a big deal because motion photography is where many people feel stuck.
The guide’s job is to help you understand what to try so your photos don’t turn into blurry disappointment. In the reviews, people mention advice for subway activity and neon signs, which suggests the instruction isn’t abstract. It’s tied to real Midtown scenes you can see and shoot.
Here’s what this means for you: you’ll leave with techniques that aren’t limited to one location. Once you understand how to handle motion, you can apply it at street level anywhere—on your next walk, in another neighborhood, or even later during your trip.
How You Get Coaching: Small Group Attention and Quick Feedback
This tour caps at 8 travelers, and that size shows up in the experience. When the group is small, the guide can watch what you’re doing, not just where you’re standing. That’s the difference between a photo walk where you take pictures and a photo safari where you improve.
The reviews highlight three coaching moments:
- helpful camera tips for getting better results
- patience while you adjust settings or try a new approach
- chances for individual attention and photo review as you shoot
If you’ve ever felt like photography trips are all about posing, this will feel more like a workshop. You’ll be walking and shooting, but you’re also learning a repeatable process: look first, compose, shoot, adjust, then repeat.
Price and Value: What $125 Buys You in Midtown Time
The price is $125 per person for about 3 hours. On paper, that can sound like just another sightseeing add-on. In practice, it becomes better value because you’re paying for two things people rarely get together on a group walk:
- a professional photographer instructor
- structured instruction you can use with your own device
Also, one-way subway fare is included, which is a small detail but helps cover a real part of the day’s movement in Midtown. And since there’s no private transportation, you’re not paying for a luxury transfer that you might not need.
If you’re serious about improving photos, the cost starts to make sense. If you want only a scenic stroll with landmarks as backgrounds, you might feel the price only makes sense if you actually engage with the instruction and practice along the way.
What to Bring and How to Prepare (Without Overthinking It)
The tour is built around using your camera better, including digital camera and iPhone guidance mentioned in the reviews. So your best move is simple: bring the device you actually want to improve with.
Beyond that, you don’t need an advanced kit based on the info provided. This is more about technique and viewpoint than specialized gear.
Do plan around walking. You’ll be standing for photo stops and moving between them, and the tour notes a moderate fitness level requirement. Comfortable shoes help. If you’re sensitive to cold or weather changes, plan layers.
Weather Matters for This Safari
This experience requires good weather. If it’s canceled due to poor weather, you’ll be offered a different date or a full refund. That’s the kind of policy you want to check when your trip includes only a couple days in New York.
Because the tour is outdoors and photo-focused, weather isn’t a minor inconvenience here—it directly affects what you can shoot and how the guide runs the session.
Who This Tour Suits Best
This Midtown Photo Safari is a strong fit if:
- you want practical camera or phone advice, not just landmark photos
- you like small groups and asking questions
- you want to learn at least one new skill (especially motion like subway trains)
- you’re traveling with an interest in city light, signage, and skyline framing
It may feel less ideal if you’re expecting a private car tour, need lots of indoor time, or don’t want to walk/stand for a few hours.
Should You Book the Midtown NYC Photo Safari?
I’d book it if you’re the type who wants your New York photos to look less accidental and more like you knew what you were doing. The biggest wins are the photo-focused instruction, the small max 8 group, and the fact that it teaches more than static landmark shots—motion and light matter here.
I would skip or reconsider only if you strongly dislike walking, aren’t able to handle moderate physical effort, or you’re traveling during a period where you can’t be flexible about weather.
If you want a guided way to come home with photos you’re proud of—and skills you can reuse—this one is a solid choice.
FAQ
How long is the Midtown NYC Photo Safari?
It lasts about 3 hours.
Where does the tour start?
The tour starts at 180 Madison Ave, New York, NY 10016, USA.
Is transportation included?
The tour includes one way subway fare, but private transportation is not included.
How many people are in the group?
The tour has a maximum of 8 travelers.
Do I need good weather?
Yes. The experience requires good weather, and if it’s canceled for poor weather you’ll be offered a different date or a full refund.
What’s included in the tour price?
Included are a professional photographer instructor and one way subway fare.